You may also like:
- 【Explained】How Long Does It Take to Paint a Car? (A 5-Step Timeline)
- 【Explained】Is It Cheaper to Wrap or Paint a Car? Complete Cost Breakdown
- 【Explained】When Does the 2-Hour Car Seat Rule End for Babies?
- 【Explained】How to Get Pot Smell Out of a Car? Your Complete DIY Guide
- 【Explained】How to Remove the Smell of Smoke in a Car Permanently? A Step-by-Step DIY Guide
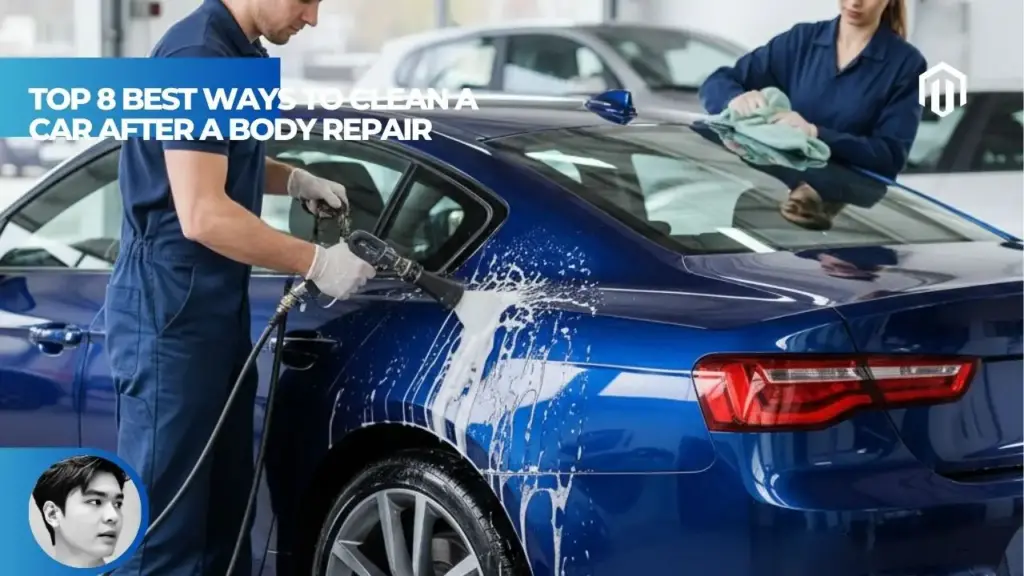
The 7 best ways to clean a car after body repair are: wait 3-7 days before the first wash, use the two-bucket hand washing method, apply pH-neutral soap with microfiber tools, carefully remove body shop residues like compound splatter, thoroughly clean interior sanding dust, dry by blotting never rubbing, and avoid all waxing or polishing for 90 days. Following these critical steps protects your fresh paint during its vulnerable 30-day curing period when the clear coat is still soft and chemically bonding to achieve full hardness.
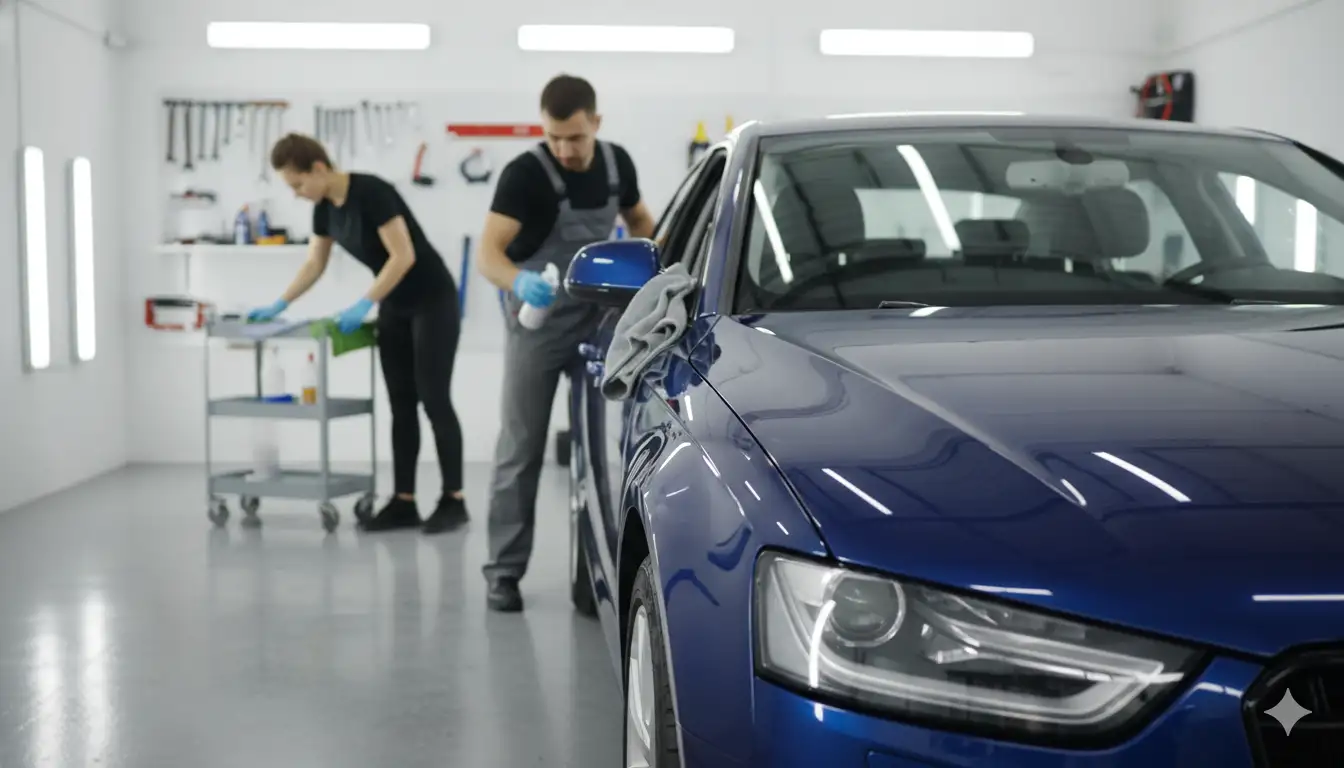
The Top 7 Best Ways to Clean Your Car After Body Repair
Getting your car back from the body shop with fresh paint is exciting, but the next 90 days determine whether that pristine finish lasts for years or develops problems within months. These seven methods protect your investment during the critical curing period.
Way #1: Wait the Proper Curing Time (3-7 Days Minimum)
The most crucial step in post-repair care is patience. Fresh automotive paint needs 24-48 hours before it’s safe to drive and a minimum of 3-7 days before the first wash[1]. During this initial period, the paint undergoes critical chemical reactions as solvents evaporate and paint molecules cross-link to form a protective barrier.
Modern auto body shops use advanced curing techniques, but the paint remains vulnerable. The surface may feel dry within 30 minutes to 1 hour, yet the underlying layers continue curing for 30-60 days[2]. Washing too soon traps moisture beneath the clear coat, causing cloudiness, blistering, or premature failure.
According to Autvex experts, temperature and humidity significantly affect curing times. In ideal conditions (70°F with 50% humidity), wait at least 72 hours. In cooler or more humid climates, extend this to 7 days minimum.
Way #2: Use the Two-Bucket Hand Washing Method
The two-bucket method prevents cross-contamination that causes swirl marks on soft, fresh paint. This technique requires two 5-gallon buckets with grit guards, dramatically reducing the risk of dragging contaminants across your new finish[3].
The process works by separating clean soapy water from rinse water:
- Bucket 1: Soapy wash solution with car shampoo
- Bucket 2: Clean rinse water with grit guard
- Wash one panel, rinse mitt in bucket 2
- Squeeze out dirty water before returning to bucket 1
- Repeat for each section
The grit guard traps dirt at the bottom, preventing it from recirculating onto your wash mitt. This method proves especially critical for fresh paint that scratches more easily than fully cured finishes. Understanding how long does it take to paint a car helps appreciate why protection during curing is essential.
Way #3: Apply pH-Neutral Car Soap with Microfiber Tools
pH-neutral car soap (pH 7) provides gentle yet effective cleaning without stripping protective coatings or damaging soft paint[4]. Unlike dish soap or harsh detergents with pH levels of 9-12, neutral formulations preserve the paint’s integrity during its vulnerable curing phase.
Quality pH-neutral soaps contain surfactants that break down dirt while maintaining paint protection:
- Safe for daily use on curing paint
- Preserves hydrophobic properties of clear coat
- Prevents chemical etching from acidic reactions
- Biodegradable and environmentally safe
Pair pH-neutral soap with high-quality microfiber wash mitts that trap dirt within their fibers rather than dragging it across the surface. Traditional sponges push contaminants along the paint, creating micro-scratches that become permanent on soft, fresh finishes.
Way #4: Remove Body Shop Residues with Specific Techniques
Body shops often leave behind specific contaminants requiring targeted removal methods. These residues differ from typical road grime and need careful attention to avoid damaging fresh paint.
Compound splatter appears as white dots on paint and trim. Remove using:
- Quick detail spray and microfiber towel for paint surfaces
- Soft toothbrush with all-purpose cleaner for plastic trim
- Work in small sections with minimal pressure
- Never use aggressive rubbing on fresh paint
Masking tape residue requires gentle heat and proper solvents:
- Use hair dryer on low setting to warm adhesive
- Apply isopropyl alcohol (70%) sparingly
- Gently roll residue off with finger wrapped in microfiber
- Follow with pH-neutral wash to remove solvent traces
For comparison, the 2025 BMW 2-Series comes with factory paint protection film that prevents such residue issues during transport.
Way #5: Clean Interior Sanding Dust with Vacuum and Compressed Air
Fine white sanding dust infiltrates every crevice during body work, requiring systematic interior cleaning. This dust differs from regular dirt—it’s finer, more pervasive, and can damage electronics if not properly removed.
Effective dust removal sequence:
- Start with compressed air at 30-40 PSI
- Blow dust from vents, seams, and tight spaces
- Work from top to bottom, inside to outside
- Use vacuum with brush attachment immediately after
- Follow with damp microfiber on hard surfaces
- Apply interior detailer for final cleaning
Pay special attention to:
- HVAC vents: Run fan on high after cleaning
- Seat rail tracks: Dust affects smooth operation
- Dashboard electronics: Use electronics-safe cleaners
- Door jambs: Often overlooked but heavily contaminated
Way #6: Dry Using Microfiber Blotting (Never Rubbing)
Proper drying technique prevents damage to soft paint that hasn’t reached full hardness. Fresh clear coat scratches easily, making traditional rubbing or dragging motions particularly harmful during the first 30 days[2].
The blotting technique protects vulnerable paint:
- Use clean, plush microfiber drying towels
- Gently pat the surface to absorb water
- Never drag or wipe across panels
- Work in sections to prevent water spots
- Use multiple towels to avoid saturation
Autvex research shows that improper drying causes more swirl marks than washing itself. Consider using a leaf blower or compressed air for touchless drying during the first month, especially on horizontal surfaces where water pools.
Way #7: Avoid Waxing and Polishing for 90 Days
Resisting the urge to wax or polish represents the hardest but most important rule. Waxes and polishes contain solvents and chemicals that interfere with paint curing, potentially trapping gases that need to escape[1]. Applying these products too early causes:
- Hazing or cloudiness in clear coat
- Blistering from trapped solvents
- Adhesion problems with paint layers
- Premature coating failure
The 90-day waiting period allows complete chemical curing and off-gassing. Some modern water-based paints may cure faster, but always follow your body shop’s specific recommendations. Document their guidance for warranty purposes.
Critical Timing – When to Start Cleaning
Understanding paint curing science helps determine safe cleaning windows and prevents costly mistakes during the vulnerable early period.
How Long to Wait to Wash Car After Body Repair
Professional body shops recommend waiting minimum 3 days, ideally 7 days before the first wash[1]. This timeline varies based on:
- Paint type: Water-based cures faster than solvent-based
- Number of coats: More layers require longer curing
- Environmental conditions: Heat and low humidity accelerate curing
- Curing equipment used: Baking booths reduce wait times
During this waiting period, park in covered areas to avoid bird droppings, tree sap, and other contaminants that require immediate cleaning. If contamination occurs, gently rinse with water only—no soap or scrubbing.
First Wash After Body Shop Guidelines
Your first wash sets the foundation for long-term paint health. Schedule it during cool morning hours when paint is firmest, avoiding direct sunlight that softens the finish[3].
First wash checklist:
- ✓ Wait minimum 3-7 days from pickup
- ✓ Choose shaded location or garage
- ✓ Use cool (not cold) water
- ✓ Pre-rinse thoroughly to remove loose debris
- ✓ Work in small sections
- ✓ Minimal pressure throughout
- ✓ Skip door jambs and tight areas initially
How Long for New Clear Coat to Cure
Clear coat represents the final protective layer requiring the longest cure time. While surface drying occurs within hours, full chemical curing takes 30-60 days[2]. The process involves:
- Days 1-7: Initial solvent evaporation
- Days 7-30: Cross-linking and hardening
- Days 30-60: Final curing and maximum hardness
- Days 60-90: Complete stabilization
Understanding these phases helps time your cleaning and protection schedule appropriately.
Paint Curing Timeline Chart
| Time Period | Paint Status | Safe Activities | Avoid |
|---|---|---|---|
| 0-24 hours | Wet/Tacky | None – Don’t touch | Everything |
| 24-72 hours | Surface dry | Gentle driving | Water, touching |
| 3-7 days | Semi-hard | First gentle wash | Pressure washing |
| 7-30 days | Curing actively | Hand washing only | Automatic washes |
| 30-60 days | Mostly cured | Normal washing | Waxing, polishing |
| 60-90 days | Fully cured | All normal care | Nothing |
What You Must Avoid (Common Mistakes)
Understanding what damages fresh paint prevents costly repairs and preserves your body shop’s warranty coverage.
Can I Take My Car to an Automatic Car Wash After Repair
Absolutely not for at least 30 days, preferably 90 days. Automatic car washes present multiple hazards to curing paint[5]:
- Harsh brushes create deep scratches in soft paint
- High-pressure jets can lift edges and force water under clear coat
- Strong detergents with pH 10-12 strip protective layers
- Hot drying air causes rapid temperature changes
- Recycled water contains contaminants from other vehicles
Even “touchless” washes use extremely high pressure (1,200+ PSI) and aggressive chemicals that damage fresh paint. The convenience isn’t worth risking your investment.
Can I Use a Pressure Washer on New Paint
Pressure washers pose serious risks to uncured paint, even at lower PSI settings. The concentrated water stream can:
- Penetrate beneath clear coat edges
- Create pockets where water accumulates
- Force moisture into microscopic pores
- Cause delamination between paint layers
If you must rinse urgently (bird droppings, tree sap), maintain minimum 3 feet distance and use wide-angle nozzle at lowest pressure setting. Better yet, use a regular garden hose with gentle spray pattern.
Harsh Chemicals That Damage Fresh Paint
Many common cleaning products cause irreversible damage to curing paint. Avoid these completely:
- Dish soap: pH 9-12 strips all protection
- Degreasers: Too aggressive for soft paint
- Wheel cleaners: Acidic formulas etch clear coat
- All-purpose cleaners: Often contain ammonia
- Bug/tar removers: Solvents interfere with curing
Check product labels carefully. If pH isn’t listed or falls outside 6-8 range, don’t risk it on fresh paint. Learn about what does exclamation mark mean in car warnings that indicate chemical hazards.
Why Avoid Waxing Too Soon
Premature waxing creates multiple problems extending beyond surface issues. The solvents in wax and polish products interfere with the paint’s chemical curing process[6]:
Chemical interference includes:
- Solvent penetration softens uncured layers
- Trapped gases create bubbles and cloudiness
- Bonding interference between paint molecules
- Premature aging of clear coat
- Warranty voiding from body shop
Wait the full 90 days regardless of how good the paint looks. The underlying chemistry needs time to complete, and rushing compromises long-term durability.
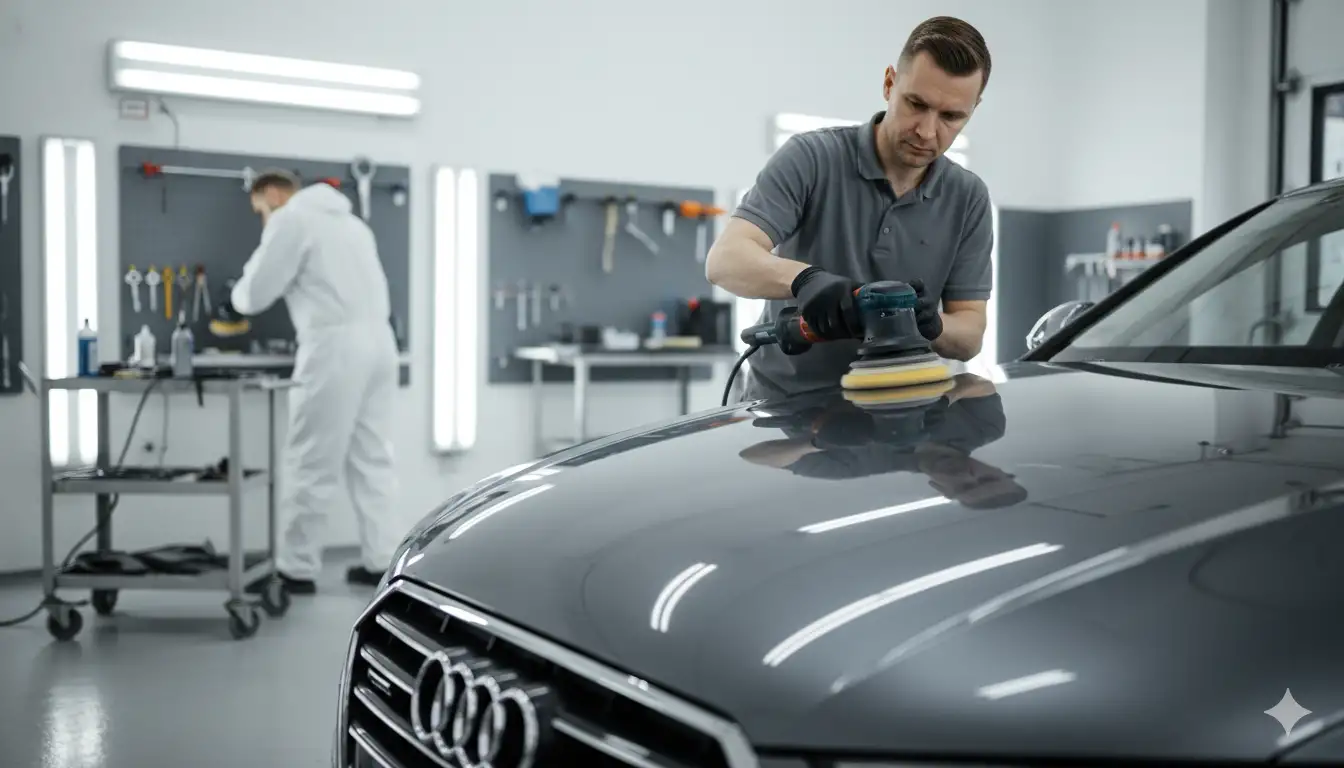
Removing Specific Body Shop Residues
Body shop contamination requires targeted removal techniques that differ from regular car cleaning methods.
How to Remove Compound Splatter from Car
Polishing compound creates stubborn white dots that resist normal washing. These require specific removal techniques based on surface type:
On painted surfaces:
- Spray quick detailer liberally on affected area
- Let dwell for 30 seconds to soften
- Gently wipe with plush microfiber towel
- Use minimal pressure—let chemicals work
- Repeat if necessary rather than scrubbing harder
On plastic trim:
- Apply dedicated plastic cleaner
- Agitate gently with soft-bristle brush
- Work in circular motions
- Wipe clean with damp microfiber
- Apply trim protectant after cleaning
How to Remove Polish Residue from Black Plastic Trim
Black plastic trim shows every speck of white polish residue, requiring patient removal:
- Warm the surface with hair dryer (low setting)
- Apply trim cleaner specifically designed for plastics
- Use detailing brush with soft bristles
- Work in sections to prevent cleaner from drying
- Multiple light passes beat one aggressive attempt
For stubborn residue, try these alternatives:
- Isopropyl alcohol (50% dilution)
- Pencil eraser for small spots
- Steam cleaner on low setting
- Dedicated polish residue remover
How to Remove Paint Overspray from Glass
Glass surfaces tolerate more aggressive cleaning than paint, allowing effective overspray removal:
Clay bar method:
- Lubricate glass with detail spray
- Gently glide clay bar across surface
- Feel for contamination removal
- Fold clay frequently to expose clean surface
- Polish glass afterward
Razor blade technique:
- Ensure glass is thoroughly wet
- Hold blade at 30-45° angle
- Use smooth, overlapping strokes
- Never use on tinted windows
- Follow with glass cleaner
How to Remove Masking Tape Residue from Car Paint
Tape residue requires careful removal to avoid damaging fresh paint underneath:
- Heat gently with hair dryer from 6 inches away
- Test small area first for paint reaction
- Apply citrus-based adhesive remover sparingly
- Let dwell for 60 seconds
- Gently roll off with microfiber-wrapped finger
- Clean thoroughly with pH-neutral soap
- Rinse completely to remove all solvent traces
Never use razor blades, scrapers, or aggressive rubbing on painted surfaces. The 2025 Audi A3 uses special masking techniques during production that eliminate such residue issues.
Proper Washing Techniques and Tools
The right techniques and tools make the difference between preserving and damaging your fresh paint job.
Safe Way to Wash New Car Paint
Safe washing requires modifying standard techniques for paint vulnerability:
Pre-wash preparation:
- Remove jewelry that could scratch
- Inspect wash tools for embedded debris
- Prepare all supplies before starting
- Work in shaded area
- Ensure paint surface is cool
Modified wash process:
- Rinse thoroughly with gentle stream
- Work top to bottom
- Wash wheels last (most contaminated)
- Use straight-line motions, not circles
- Rinse each panel immediately
- Never let soap dry on surface
Best Car Soap for New Paint (pH-Neutral Requirements)
pH-neutral soaps rated between 6.5-7.5 provide optimal cleaning without chemical damage[4]. Top-rated options include:
| Product | pH Level | Key Features | Price Range |
|---|---|---|---|
| Meguiar’s Gold Class | 7.0 | Gentle, good lubrication | $8-12 |
| Chemical Guys Mr. Pink | 7.0 | High foam, rinses clean | $10-15 |
| Adam’s Car Shampoo | 6.5-7.5 | Concentrated, economical | $15-20 |
| Griot’s Garage Brilliant Finish | 7.0 | Premium lubricants | $12-18 |
Dilution ratios matter—follow manufacturer recommendations exactly. Over-concentration doesn’t clean better and may leave residue.
Microfiber vs Regular Towels
Microfiber technology revolutionized car care by trapping dirt rather than dragging it:
Microfiber advantages:
- 100 times finer than human hair
- Traps particles within fiber structure
- Holds 7x its weight in water
- Lint-free operation
- Machine washable for reuse
Traditional towel problems:
- Cotton fibers scratch soft paint
- Terry cloth loops catch and drag
- Hold less water requiring more wringing
- Leave lint behind
- Deteriorate quickly with use
Invest in quality 300+ GSM microfiber towels specifically designed for automotive use. Dedicate separate towels for washing, drying, and interior work.
Cool Water vs Hot Water Effects
Water temperature significantly impacts fresh paint during washing:
Cool water benefits:
- Keeps paint surface firm
- Reduces chemical activity
- Prevents soap from drying quickly
- Minimizes thermal stress
- Safer for all paint stages
Hot water risks:
- Softens uncured clear coat
- Accelerates chemical reactions
- Causes rapid evaporation and spotting
- Creates thermal shock
- May reactivate solvents in fresh paint
Use water between 60-80°F for optimal results. Test with your hand—if it feels neutral to slightly cool, it’s perfect for washing.
Interior Cleaning After Body Work
Interior contamination from body work requires systematic cleaning to restore cabin air quality and appearance.
How to Clean Fine Sanding Dust from Car Interior
Sanding dust penetrates everywhere, requiring methodical removal:
Systematic approach:
- Remove floor mats and shake outside
- Vacuum seats with brush attachment
- Compressed air for crevices and seams
- Wipe hard surfaces with barely damp microfiber
- Clean glass last to avoid recontamination
- Replace cabin air filter if accessible
The fine particulate nature means multiple cleaning passes. Don’t rush—thorough initial cleaning prevents long-term dust circulation.
Remove Body Shop Dust from Car Vents
HVAC vents trap significant dust requiring special attention:
- Set HVAC to recirculate mode
- Run fan on high for 30 seconds to expel loose dust
- Turn off system completely
- Spray compressed air into each vent
- Use foam brush to agitate stubborn dust
- Vacuum vent openings with brush attachment
- Apply interior detailer on cotton swab for finishing
Consider professional HVAC cleaning if dust persists after multiple attempts. Investigate what car has the best air conditioning for the back seat to understand ventilation system complexities.
Using Compressed Air to Clean Car Interior
Compressed air proves invaluable for dust removal but requires proper technique:
Equipment setup:
- Use regulated compressor at 30-40 PSI
- Attach precision nozzle for control
- Wear safety glasses
- Work in well-ventilated area
Effective techniques:
- Start from top, work downward
- Use short bursts rather than continuous flow
- Angle nozzle to blow dust toward vacuum
- Focus on seams, buttons, and crevices
- Keep nozzle moving to prevent damage
Best Vacuum for Fine Sanding Dust
Standard vacuums often lack the filtration necessary for fine dust. Ideal specifications include:
Required features:
- HEPA filtration to trap fine particles
- Variable suction control
- Brush attachments for gentle agitation
- Crevice tool for tight spaces
- Minimum 5.0 peak HP for adequate suction
Recommended models:
- Shop-Vac with HEPA filter
- Rigid wet/dry vacuum with fine dust bag
- Professional detailing extractors
- Dyson cordless with specialized attachments
Professional Services and Expectations
Understanding when professional help makes sense can save time and prevent damage to your investment.
Post-Body-Shop Detailing Worth It?
Professional detailing after body work offers several advantages:
Benefits of professional service:
- Experience with fresh paint handling
- Professional-grade products and tools
- Paint thickness measurement capabilities
- Warranty-safe procedures
- Time savings for busy owners
Cost-benefit analysis:
- Basic exterior detail: $75-150
- Full interior/exterior: $150-300
- Paint correction (after 90 days): $300-600
- Ceramic coating (after curing): $500-1,500
According to Autvex experts, professional detailing makes sense for high-value vehicles or when body work exceeded $3,000. The cost represents insurance for your investment.
Should a Body Shop Clean the Car After Repair
Quality body shops should provide basic cleaning, but standards vary significantly[7]:
Minimum expectations:
- Remove masking materials completely
- Vacuum obvious debris
- Wipe down repaired areas
- Clean overspray from adjacent panels
- Basic wash of affected areas
Reality check:
- Many shops do minimal cleaning
- Focus on repair quality, not detailing
- Time constraints limit thorough cleaning
- Insurance claims may not cover cleaning
- Additional services cost extra
Body Shop Cleaning Fee Standards
Cleaning fees vary based on service level and shop policies:
| Service Level | Typical Cost | What’s Included |
|---|---|---|
| Basic Clean | $0 (included) | Debris removal, basic wipe |
| Standard Detail | $50-100 | Wash, vacuum, window cleaning |
| Full Detail | $150-300 | Complete interior/exterior detail |
| Paint Correction | $300-500 | Remove imperfections (after cure) |
Request cleaning specifications upfront and get agreements in writing. Some insurance policies cover detailing costs—verify coverage before authorizing work.
When to Seek Professional Detailing
Professional intervention makes sense in specific situations:
Immediate professional help needed:
- Extensive overspray on multiple panels
- Interior contamination beyond dust
- Paint defects requiring correction
- Time constraints preventing DIY
- High-value or exotic vehicles
Wait 90 days for:
- Paint correction services
- Ceramic coating application
- Machine polishing
- Wax or sealant application
- Paint protection film installation
Research providers carefully. Verify they understand fresh paint requirements and will honor your body shop’s warranty terms. Check if they offer services like those for window tinting costs which indicates comprehensive capabilities.
Key Takeaways
- Wait 3-7 days minimum before first wash to allow initial paint curing
- Use two-bucket method exclusively to prevent swirl marks on soft paint
- pH-neutral soap only with microfiber tools protects vulnerable finish
- Remove residues carefully using specific techniques for each contaminant
- Vacuum and blow out dust systematically from interior spaces
- Blot dry, never rub to avoid scratching uncured clear coat
- No wax for 90 days allows complete chemical curing without interference
Next Steps
Begin your post-repair care by marking your calendar with critical dates: first wash (day 7), normal washing (day 30), and waxing permitted (day 90). Gather your supplies now—two buckets with grit guards, pH-neutral car soap, quality microfiber towels, and appropriate cleaning products for residue removal.
For the first week, simply monitor the paint and avoid all contact unless absolutely necessary. If contamination occurs, gently rinse with water only. After seven days, perform your first gentle wash following the two-bucket method with minimal pressure and careful blotting to dry.
Continue hand washing only for the first 30 days, gradually increasing to normal pressure as the paint hardens. Address any body shop residues during this period using the specific techniques outlined. After 30 days, you can resume normal washing routines but continue avoiding automatic car washes until day 60.
At the 90-day mark, your paint has fully cured and accepts all normal care including waxing, polishing, and ceramic coating application. Consider professional paint correction if any imperfections developed during the curing period. Document all care activities for warranty purposes and maintain regular washing to preserve your investment.
Schedule professional detailing if extensive contamination persists or if you lack time for proper DIY care. The cost of professional service pales compared to potential damage from improper cleaning during the critical curing period.
FAQs
How long should I wait to wash my car after body repair?
Wait at least 3-7 days for the first wash, though some shops recommend up to 2 weeks depending on paint type and curing conditions.
Can I take my car to a car wash after the body shop?
No, avoid automatic car washes for at least 30-90 days as harsh brushes and high pressure can damage soft, curing paint.
What is the white, hard-to-remove dust on my car after a repair?
It’s fine sanding dust from body work preparation that requires vacuum with brush attachment and compressed air for complete removal.
How do I remove the white polish splatter dots from my car’s trim?
Use quick detail spray with microfiber towel on paint, or soft brush with all-purpose cleaner for stubborn spots on plastic trim.
How do I get fine sanding dust out of my car’s interior and vents?
Use compressed air to blow dust from vents and crevices, then vacuum with brush attachment before wiping surfaces with interior detailer.
Can I wax my car right after I get it back from the body shop?
No, wait at least 90 days as waxing too soon can trap solvents and prevent proper paint curing, causing cloudiness or failure.
How long does new car paint need to cure?
Paint needs 30-90 days to fully cure and harden, though surface drying occurs within 24-48 hours of application.
Is it safe to use a clay bar on new paint?
Wait at least 30 days minimum before clay bar use, as the abrasive action can damage soft, uncured paint surfaces.
What is the best way to remove paint overspray from my windows?
Use clay bar with lubricant or carefully use a razor blade held at a flat angle on glass surfaces only, never on paint.
Should the body shop have cleaned my car before giving it back?
Quality shops perform basic cleaning, but thorough detailing often requires additional fees or separate professional service.
References
- Craftsman Collision. (2025). How Long Does Auto Body Paint Take to Dry. https://craftsmancollision.com/news/how-long-auto-body-paint-dry/
- Painted OEM Parts. (2025). First 30 Days Paint Care After Auto Repair. https://www.paintedoemparts.com/post/first-30-days-paint-care
- Waxit. (2025). The Two Bucket Car Wash Method 2025. https://www.waxit.com.au/blogs/the-two-bucket-method
- Killer Brands UK. (2023). The Benefits of Using pH-Neutral Shampoos for Car Washing. https://www.killerbrands.co.uk/blogs/ph-neutral-shampoos
- IEABP. (2025). How Long Does Car Paint Take to Dry and When You Can Wash It. https://ieabp.com/how-long-does-car-paint-take-to-dry/
- Reddit AutoDetailing. (2024). Fresh Paintjob Recommendations for First Wash. https://www.reddit.com/r/AutoDetailing/comments/1f25lrr/
- River North Collision. (2025). Quick Guide to Safely Cleaning a Car After Body Repair. https://www.rivernorthcollisionrepair.com/safely-cleaning-after-body-repair/

I am a senior automotive analyst at Autvex. Expert vehicle evaluations, in-depth reviews, and objective analysis helping readers make informed automotive decisions with years of industry experience.

