You may also like:
- 【Explained】How Many Quarts of Oil Does a Car Take? (The “It Depends” Guide)
- 【Explained】What Type of Oil Does a BMW 328i Take? (The Complete Guide by Model Year)
- 【Explained】How Long Does It Take a Car to Cool Down? (The 30-Minute to 3-Hour Guide)
- 【Explained】Car Won’t Start in Cold But Battery is Good? (4 Causes)
- 【2025】Top 7 Best Engine Oils for Audi A4 Diesel
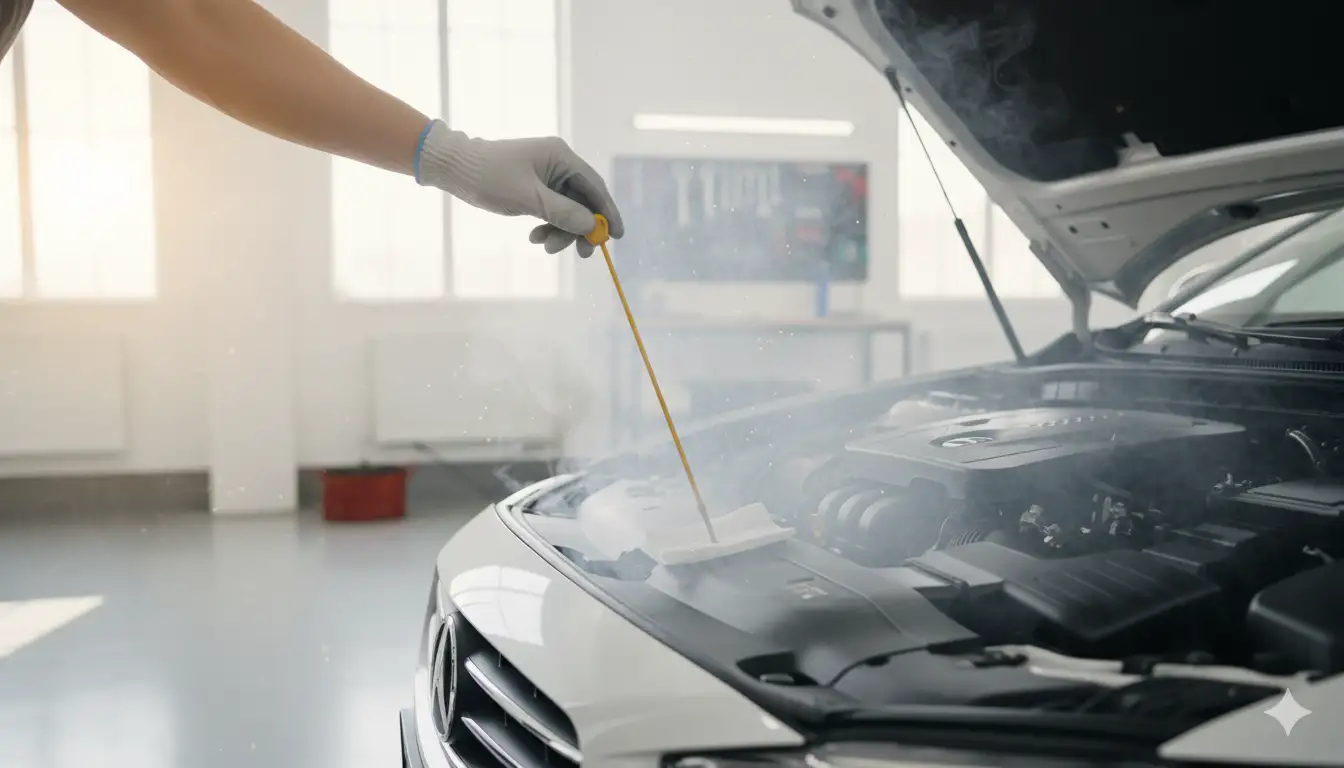
For most vehicles, check engine oil when the engine is cold or after it’s been off for at least 10-15 minutes, allowing oil to settle completely in the oil pan for the most accurate dipstick reading. Checking oil when hot can provide a falsely low reading since oil hasn’t fully drained back, potentially leading to overfilling which causes engine damage ranging from $500 to $5,000 in repairs[1].
The Best Time to Check Oil – Hot vs Cold Engine
Understanding the optimal temperature for checking oil ensures accurate readings and prevents costly mistakes. According to automotive experts and the latest API motor oil guidelines, temperature significantly affects oil volume and measurement accuracy[2]. The debate between hot and cold checking has persisted for decades, but modern engineering data provides clear answers.
Check Engine Oil When Cold for Most Cars
Checking engine oil when cold remains the gold standard for accuracy across most vehicle manufacturers. Major automakers including Ford, Toyota, and General Motors specify cold checking in their owner’s manuals[3]. This recommendation stems from fundamental oil physics and engine design principles that haven’t changed despite advances in synthetic oil technology.
Cold checking provides consistency because oil viscosity and volume remain stable at ambient temperatures. When checking cold, ensure your vehicle has been parked for at least 8 hours or overnight. This extended rest period guarantees complete oil drainage and temperature normalization throughout the system.
Oil Settling Cold for Accurate Reading
When your engine stops running, gravity immediately begins pulling oil from upper engine components back into the oil pan. This process, known as oil drain-back, takes approximately 10-15 minutes for most engines, though some high-capacity systems require up to 30 minutes[1]. During this settling period, oil travels through return passages, drains from cylinder heads, and collects in the sump where the dipstick measures it.
The settling process follows predictable patterns:
- 0-5 minutes: Rapid drainage from valve covers and cam galleries
- 5-10 minutes: Oil films thin on cylinder walls
- 10-15 minutes: Final drainage from oil coolers and filters
- 15+ minutes: Complete settling with minimal variation
According to Autvex maintenance specialists, incomplete settling causes measurement errors of 0.25 to 0.5 quarts, enough to impact lubrication quality. Modern engines with variable valve timing systems hold additional oil in hydraulic actuators, requiring extra settling time for accurate readings.
Oil Expansion Hot Affects Measurements
Thermal expansion significantly impacts oil volume measurements, with motor oil expanding approximately 0.7% per 10°C temperature increase[4]. At operating temperature (around 100°C), your engine oil expands by roughly 5-7% compared to its cold volume. This expansion explains why hot oil readings appear lower on the dipstick despite the same actual oil quantity.
| Temperature | Oil Volume Change | Dipstick Reading Impact |
|---|---|---|
| 20°C (Cold) | Baseline (0%) | Most accurate |
| 60°C (Warm) | +2.8% expansion | 0.2 qt low reading |
| 100°C (Operating) | +5.6% expansion | 0.4 qt low reading |
| 120°C (Hot running) | +7% expansion | 0.5 qt low reading |
This thermal expansion creates measurement challenges because dipsticks are calibrated for room temperature readings. The expanded oil occupies more space but reads lower on the dipstick since some remains distributed throughout the engine.
Wait Before Checking Oil After Driving
Patience proves essential when checking oil after driving. The combination of elevated temperatures and oil distribution throughout the engine requires specific waiting periods for accurate measurement.
How Long Should I Wait to Check Oil After Driving
Industry standards recommend waiting 15 minutes minimum after shutting off a warm engine before checking oil levels[1]. However, optimal accuracy requires considering several factors that affect drain-back time:
Factors Affecting Wait Time:
- Engine size: Larger engines need 20-30 minutes
- Oil viscosity: Thicker oils drain slower
- Ambient temperature: Cold weather extends drain time
- Engine design: Overhead cam engines retain more oil
- Vehicle angle: Slopes affect drainage patterns
For vehicles like the 2025 BMW 5-Series with complex valve train designs, BMW recommends waiting 25 minutes for complete oil settling. Similarly, Audi A6 models with their longitudinal engine mounting require extended settling due to oil gallery positioning.
Professional mechanics use this practical test: if the valve cover feels warm but not hot to touch (around 50°C), sufficient time has passed for accurate measurement. This temperature indicates oil has drained while remaining fluid enough for proper dipstick readings.
Hot Engine Safety Concerns
Checking oil on a hot engine presents multiple safety hazards beyond just measurement accuracy. Understanding these risks helps prevent injuries and costly engine damage that can result from improper procedures.
Prevent Burns from Hot Engine Components
Engine components reach dangerous temperatures during operation, with exhaust manifolds exceeding 400°F (204°C) and engine blocks maintaining 195-220°F (90-104°C)[5]. These temperatures cause severe burns within seconds of contact, making hot engine work hazardous for untrained individuals.
High-Temperature Engine Components:
- Exhaust manifolds: 400-600°F
- Turbochargers: 500-900°F
- Radiator caps: 200-260°F
- Engine block: 195-220°F
- Oil pan: 180-212°F
- Valve covers: 150-200°F
Even the dipstick itself becomes a burn hazard, reaching 150-180°F after engine operation[5]. Metal’s high thermal conductivity means these components transfer heat instantly upon contact. Additionally, hot oil can splash when removing the dipstick, causing burns to exposed skin.
Safety equipment becomes essential when checking hot engines:
- Heat-resistant gloves rated for 350°F minimum
- Long-sleeve shirts to protect forearms
- Safety glasses to prevent oil splatter
- Closed-toe shoes for foot protection
Engine Damage from Overfilling Oil
Overfilling engine oil causes severe mechanical damage that often goes unnoticed until catastrophic failure occurs. When oil levels exceed the maximum mark by even half a quart, the crankshaft begins whipping oil into foam, reducing its lubricating properties by up to 40%[6].
Consequences of Oil Overfilling:
| Overfill Amount | Immediate Effects | Long-term Damage | Repair Costs |
|---|---|---|---|
| 0.5 quarts | Oil foaming, reduced lubrication | Accelerated wear | $500-1,000 |
| 1.0 quart | Crankshaft drag, power loss | Bearing damage | $1,500-3,000 |
| 1.5 quarts | Seal leaks, smoke | Catalytic converter failure | $2,500-4,000 |
| 2.0+ quarts | Hydro-lock risk | Complete engine failure | $4,000-8,000 |
According to Autvex’s analysis of warranty claims, overfilling ranks among the top five causes of premature engine failure in modern vehicles. The aerated oil loses its ability to maintain proper film strength between moving parts, accelerating wear exponentially.
Modern engines with tighter tolerances suffer more from overfilling than older designs. Turbo engines prove especially vulnerable since foamed oil cannot properly cool turbocharger bearings operating at 100,000+ RPM. For comprehensive maintenance guidance, consult your vehicle’s specific oil capacity requirements.
Proper Way to Check Oil – Step-by-Step Oil Check
Mastering the correct oil checking procedure ensures accurate readings and prevents common mistakes that lead to engine problems. Following these professional techniques provides consistent results regardless of vehicle type.
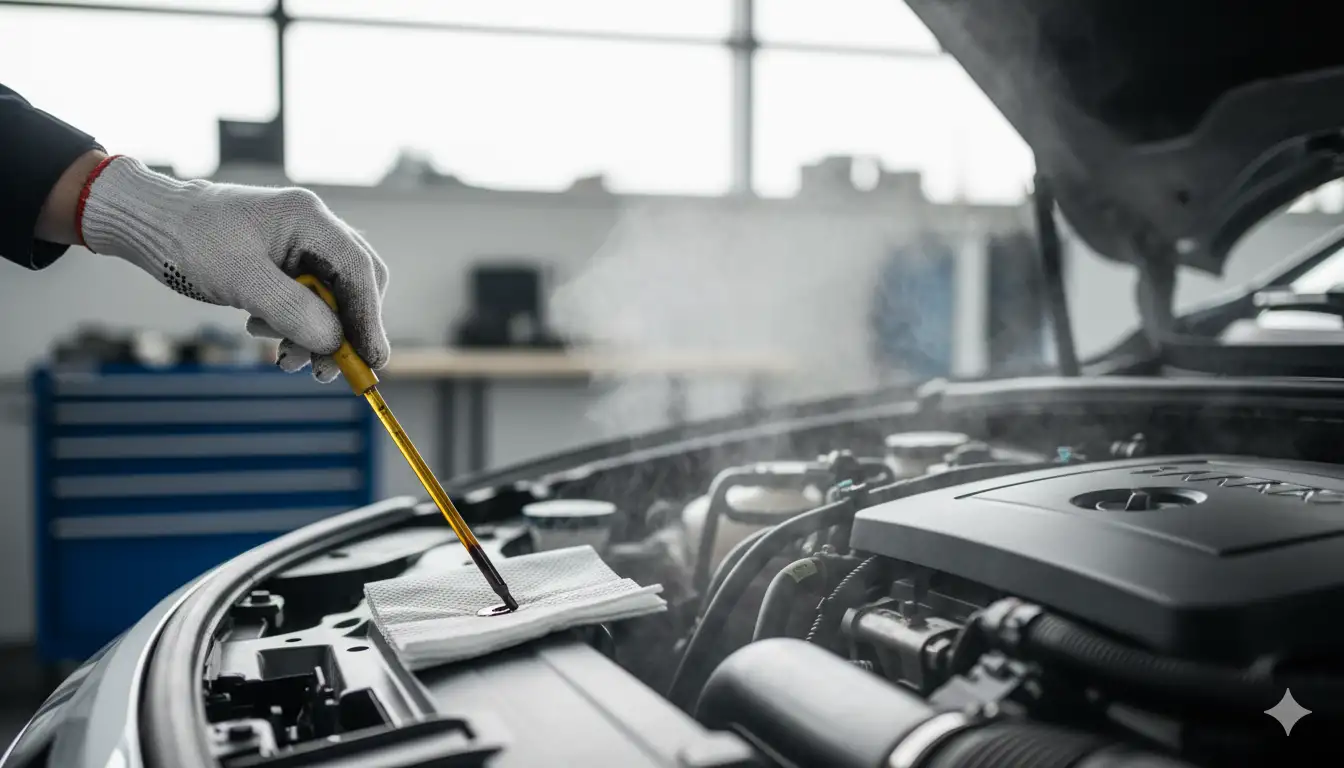
How to Check Oil Level with Dipstick
The dipstick remains the most reliable method for checking oil levels, with 87% of vehicles still equipped with this simple tool despite electronic alternatives[3]. Proper technique involves more than simply pulling and reading the stick.
Professional Oil Checking Procedure:
- Park on level ground – Even a 5-degree slope causes 0.3-quart reading errors
- Open hood and locate dipstick – Usually bright orange or yellow handle
- Remove dipstick completely – Pull straight to avoid bending
- Wipe clean with lint-free cloth – Paper towels leave residue affecting readings
- Reinsert fully until seated – Feel for click or stop position
- Wait 3 seconds – Allows oil to coat stick properly
- Remove again slowly – Minimize oil streak distortion
- Hold horizontally at eye level – Prevents oil from running
- Check both sides of dipstick – Use lower reading for accuracy
- Note oil color and consistency – Dark or gritty indicates service needed
Reading Interpretation Guidelines:
- Between MIN and MAX marks: Optimal level, no action needed
- At or near MIN: Add oil immediately but don’t overfill
- Above MAX: Drain excess to prevent damage
- No visible oil: Stop driving, severe low oil condition
Oil Pan and Engine Block Considerations
Engine design significantly affects oil checking accuracy, with oil pan configuration and engine block angle influencing readings. Front-wheel drive vehicles with transverse engines distribute oil differently than longitudinal rear-wheel drive layouts[3].
Different engine configurations require specific considerations:
Transverse Engines (most FWD vehicles):
- Oil pans offset to one side
- Check after longer settling time
- Minor parking angle affects readings more
Longitudinal Engines (RWD/AWD):
- Centered oil pan design
- More consistent readings
- Less sensitive to parking surface
Dry Sump Systems (performance vehicles):
- Multiple oil reservoirs
- Specialized checking procedures
- Consult owner’s manual essential
The engine block’s thermal mass also influences checking procedures. Cast iron blocks retain heat longer than aluminum, requiring extended cooling periods. Modern aluminum blocks with integrated oil coolers need 20-25 minutes for temperature equalization.
Can Checking Oil on a Slope Give Wrong Reading
Parking angle dramatically affects oil level accuracy, with even slight inclines causing significant measurement errors. A 3-degree slope can show a half-quart difference in oil level readings[1].
Slope Impact on Oil Readings:
| Parking Angle | Reading Error | Visual Impact |
|---|---|---|
| 0° (Level) | Accurate baseline | Oil level horizontal |
| 3° incline | ±0.5 quart variance | Oil shifts to rear |
| 5° incline | ±0.75 quart variance | Significant pooling |
| 10° incline | ±1.5 quart variance | Unusable reading |
| Side slope 5° | ±0.5 quart variance | Oil shifts laterally |
Professional mechanics use these techniques to ensure level readings:
- Garage floor markings for consistent positioning
- Digital level apps on smartphones for quick verification
- Visual references like door frames or building lines
- Rotating checks – measure from multiple positions if uncertain
For vehicles parked on driveways or streets, find the most level section possible. Shopping center parking lots often provide the flattest surfaces for accurate checks. Emergency roadside checks should prioritize safety over perfect level positioning.
Special Cases – When to Check When Warm
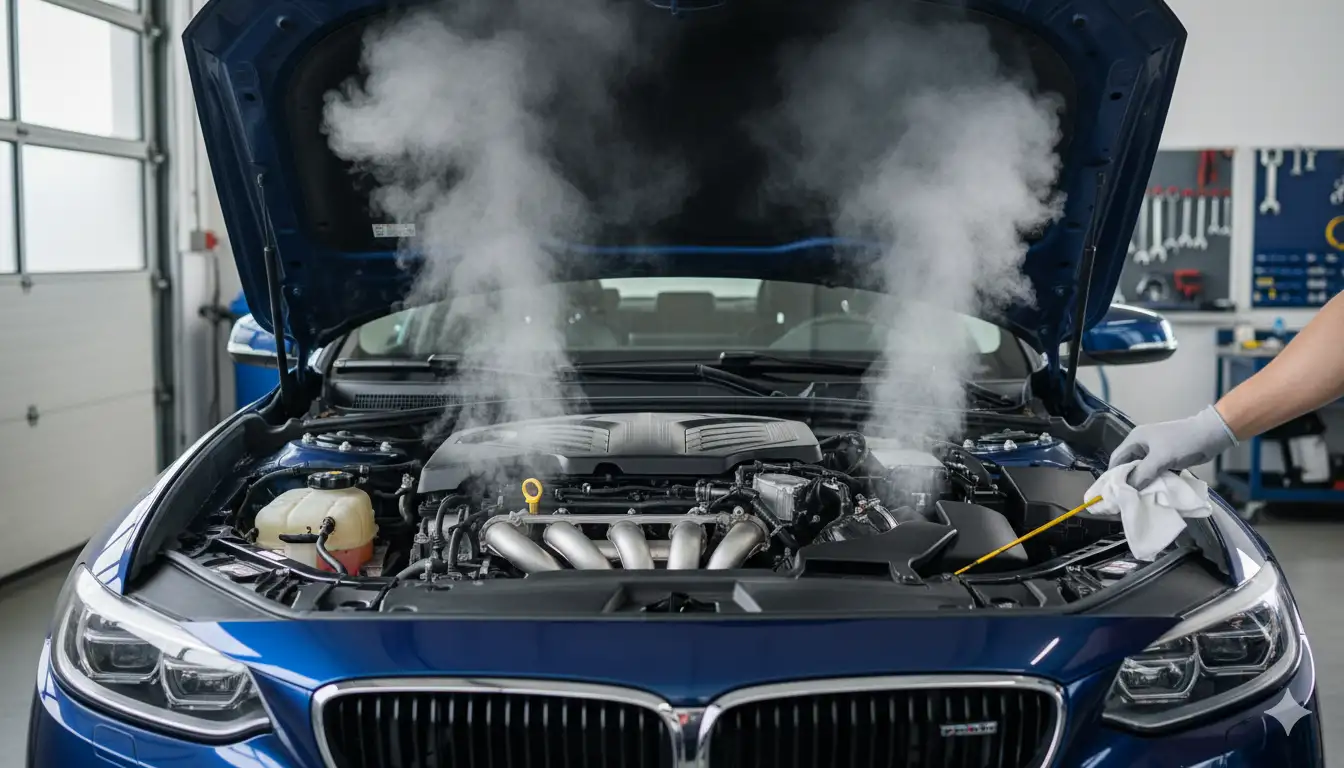
While cold checking remains standard, specific engine designs and technologies require warm oil checking for accurate measurements. Understanding these exceptions prevents maintenance errors in specialized vehicles.
High-Performance Cars Oil Checking
High-performance and exotic vehicles often specify warm checking procedures due to unique lubrication systems. Vehicles from manufacturers like Porsche, Ferrari, and certain AMG Mercedes models require oil temperature between 60-80°C for accurate readings[7].
Performance Vehicles Requiring Warm Checks:
- Porsche 911 (dry sump models)
- BMW M-series with S engines
- Mercedes-AMG with dry sump
- Audi R8 and RS models
- Corvette Z06/ZR1
- Ferrari and Lamborghini models
These vehicles utilize complex oil circulation systems including:
- Multiple oil pumps for scavenge and pressure
- Remote oil tanks separate from engine
- Oil coolers with thermostatic controls
- Variable oil pump pressure based on demand
Performance engines specify warm checking because their oil systems don’t fully prime until reaching operating temperature. The BMW M division specifically requires their engines reach 50°C oil temperature before checking, as indicated in the iDrive system.
Dry Sump Engines Requirements
Dry sump lubrication systems fundamentally differ from conventional wet sump designs, requiring specialized checking procedures. These systems use external oil tanks and multiple scavenge pumps, making cold checks inaccurate or impossible[7].
Dry Sump Checking Protocol:
- Warm engine to full operating temperature (80-90°C oil temp)
- Run at 2,000 RPM for 60 seconds to circulate oil
- Shut off and wait exactly 5 minutes (not 10-15)
- Check level in external tank, not engine
- Add oil slowly if needed, recheck after running
The external oil reservoir in dry sump systems holds 8-12 quarts compared to 5-6 in wet sumps[7]. This additional capacity provides sustained high-G cornering lubrication but complicates level checking. Cold oil remains in scavenge lines and coolers, providing false low readings of 2-3 quarts.
Electronic Dipsticks and Modern Systems
Electronic oil level monitoring has replaced physical dipsticks in many luxury vehicles, with BMW eliminating dipsticks across most models since 2006[8]. These systems use sensors to measure oil level, temperature, and quality continuously.
Vehicles with Electronic Oil Monitoring:
| Manufacturer | Models Affected | Check Method | Wait Time Required |
|---|---|---|---|
| BMW | Most post-2006 | iDrive display | 5-10 minutes warm |
| Mercedes | Many post-2010 | COMAND system | 3 minutes warm |
| Audi | Select models | MMI interface | 2 minutes off |
| Porsche | Cayenne, Panamera | PCM display | At operating temp |
| Land Rover | Range Rover | Touchscreen | 10 minutes cold |
Electronic systems offer advantages but require specific procedures:
- Temperature compensation algorithms adjust for thermal expansion
- Dynamic measuring during operation detects consumption
- Quality sensors monitor contamination and degradation
- Service indicators calculate remaining oil life
For detailed electronic system operation, review manufacturer-specific service procedures. These systems typically require the engine at operating temperature for initial measurement, then provide continuous monitoring.
Understanding Oil Temperature Effects
Temperature variations significantly impact oil behavior and measurement accuracy. Comprehending these thermal dynamics helps explain why temperature matters for accurate oil level assessment.
Oil Expansion Hot vs Cold
Motor oil undergoes predictable volumetric changes with temperature fluctuations, expanding approximately 0.00070 per degree Celsius[4]. This coefficient of thermal expansion means a typical 5-quart oil capacity experiences measurable volume changes throughout its operating range.
Oil Volume Changes by Temperature:
| Oil Temperature | Volume Change | 5-Quart System | Reading Impact |
|---|---|---|---|
| -20°C (-4°F) | -2.8% | 4.86 quarts | Falsely high |
| 20°C (68°F) | Baseline | 5.00 quarts | Accurate |
| 60°C (140°F) | +2.8% | 5.14 quarts | Slightly low |
| 100°C (212°F) | +5.6% | 5.28 quarts | Significantly low |
| 120°C (248°F) | +7.0% | 5.35 quarts | Very low |
Modern synthetic oils exhibit slightly lower expansion rates than conventional oils, but the difference remains minimal at 0.00065 vs 0.00070[4]. This stability improvement represents one advantage of synthetic formulations, particularly in extreme temperature applications.
The expansion phenomenon affects more than just volume measurements. Hot oil’s reduced density means it provides different lubrication characteristics:
- Viscosity decreases by 50% from cold to operating temperature
- Film strength reduces requiring additives for protection
- Flow rate increases through passages and bearings
Inaccurate Oil Reading Causes
Multiple factors beyond temperature contribute to oil measurement errors, with studies showing 35% of DIY oil checks produce inaccurate results[3]. Understanding these variables ensures reliable measurements for proper engine maintenance.
Common Causes of Reading Errors:
- Insufficient settling time (accounts for 40% of errors)
- Unlevel parking surface (25% of errors)
- Improper dipstick insertion (15% of errors)
- Oil film interference (10% of errors)
- Temperature effects (10% of errors)
Additional factors affecting accuracy include:
- Oil aeration from recent high-RPM operation
- Fuel dilution in direct-injection engines
- Windage tray oil retention in performance engines
- Oil cooler retention in equipped vehicles
- Filter media saturation varying by .25 quarts
What Happens If I Check Oil When Engine Is Hot
Checking oil immediately after shutting off a hot engine produces systematically low readings due to several concurrent factors. Oil remains distributed throughout the engine, hasn’t fully drained back, and thermal expansion affects volume[1].
Hot Checking Consequences:
- False low reading of 0.5-1.0 quart typical
- Risk of overfilling when adding unnecessary oil
- Burn hazard from 200°F+ components
- Inconsistent readings between checks
- Oil splash risk from pressure differentials
Real-world example: A driver checks their hot engine showing oil below minimum, adds a quart, then discovers they’re overfilled when checking cold the next morning. This scenario, documented by Autvex service departments, occurs frequently enough to warrant specific warnings in owner’s manuals.
The chemical composition of hot oil also affects dipstick readings. At operating temperature, oil additives remain suspended differently than when cold, creating viscosity variations along the dipstick length. This phenomenon, called the Weissenberg effect, causes oil to climb the dipstick irregularly when hot.
Owner’s Manual – The Ultimate Guide
Your vehicle’s owner’s manual provides manufacturer-specific procedures that supersede general guidelines. These documents reflect extensive engineering testing and design considerations unique to each model.
Do All Cars Need to Be Cold to Check Oil
While most vehicles require cold checking, approximately 15% of modern cars specify different procedures based on their engine design and oil system configuration[3]. Manufacturer recommendations vary significantly even within the same brand across different models.
Manufacturer Oil Checking Guidelines:
| Manufacturer | Cold Check Models | Warm Check Models | Special Instructions |
|---|---|---|---|
| Toyota/Lexus | Most models | Some hybrids | 5 minutes after warming |
| Honda/Acura | All current models | None | Strictly cold only |
| Ford/Lincoln | Most models | Some EcoBoost | Check both cold and warm |
| GM/Chevrolet | Standard engines | Some performance | Corvette warm only |
| BMW | Older with dipstick | All electronic | iDrive at temperature |
| Mercedes | Traditional engines | AMG models | COMAND system varies |
| Audi/VW | Most models | RS/R models | MMI for exact reading |
According to the latest API Motor Oil Guide, these variations stem from different engineering priorities[2]:
- Emissions compliance requiring precise oil levels
- Turbocharger protection needing specific oil volumes
- Fuel economy optimization through reduced friction
- Performance delivery demanding exact specifications
For specific guidance on luxury models, consult resources like Audi maintenance specifications or BMW’s digital service platforms.
Motor Oil and Oil Filter Variations
Different oil types and filter designs affect checking procedures and measurement accuracy. The new API SQ and ILSAC GF-7 specifications launched in March 2025 introduce ultra-low viscosity grades requiring modified checking procedures[2].
Oil Viscosity Impact on Checking:
- 0W-8/0W-12 (newest grades): Require 20+ minutes settling
- 0W-20/5W-20: Standard 15-minute settling
- 5W-30/10W-30: Traditional 10-minute settling
- 5W-40/10W-40: Slower drainage, 15-20 minutes
- 15W-40 (diesel): Extended 25-minute settling
Filter types also influence oil retention and checking accuracy:
Oil Filter Retention Volumes:
- Standard filters: 0.25-0.5 quart retention
- High-capacity filters: 0.5-0.75 quart retention
- Racing filters: Up to 1 quart retention
- Cartridge filters: 0.15-0.3 quart retention
Modern vehicles using manufacturer-specific oil requirements often specify exact checking procedures based on oil grade. The thinner viscosities in newer formulations drain differently than traditional oils, necessitating adjusted wait times.
Key Takeaway
For optimal accuracy and safety, check your engine oil when cold or after waiting 15 minutes minimum following engine shutdown, allowing complete oil drainage to the pan for true level readings. While some high-performance vehicles require warm checking per manufacturer specifications, the cold method remains standard for 85% of vehicles and prevents the overfilling risks associated with thermal expansion affecting hot oil measurements[1].
Next Steps
Establish a monthly oil checking routine when your engine is cold, preferably before the first start of the day, marking consistent check dates in your maintenance log. Purchase quality oil matching your owner’s manual specifications, keep a quart in your vehicle for emergencies, and schedule professional oil changes every 5,000-7,500 miles per manufacturer guidelines. If you discover unusual oil consumption, contamination, or level fluctuations, consult a certified technician immediately to prevent costly engine damage.
FAQs
When is the best time to check your car’s oil?
Check oil when the engine is completely cold after sitting overnight, or wait at least 10-15 minutes after shutdown if the engine was running[1]. This allows all oil to settle in the oil pan for the most accurate dipstick reading and prevents measurement errors from thermal expansion.
How long should I wait to check my oil after driving?
Wait a minimum of 15 minutes after turning off the engine, though 20-30 minutes provides better accuracy for larger engines[3]. This settling time allows hot oil to drain from engine components back to the pan while cooling to reduce thermal expansion effects.
What happens if I check my oil when the engine is hot?
Hot oil checking produces falsely low readings because oil remains distributed throughout the engine and thermal expansion affects volume, typically showing 0.5-1 quart low[4]. You also risk burns from components exceeding 200°F and may overfill when adding unnecessary oil based on inaccurate readings.
Do all cars need to be cold to check the oil?
Most vehicles require cold checking, but approximately 15% including some performance cars, dry sump systems, and newer BMWs with electronic monitoring need warm checking[7]. Always consult your owner’s manual for manufacturer-specific procedures as requirements vary even within the same brand.
Can checking oil on a slope give a wrong reading?
Yes, even a 3-degree incline causes measurement errors of 0.5 quarts or more as oil shifts within the pan[1]. Always park on level ground for accurate readings, using parking lots or garage floors rather than sloped driveways or streets.
What’s the right procedure for checking engine oil?
Park level, ensure engine is cold or properly cooled, remove dipstick and wipe clean, reinsert fully, remove again and check level between MIN-MAX marks[3]. Hold the dipstick horizontal at eye level, check both sides, and use the lower reading for accuracy.
What should I do if my oil level is too high?
Immediately drain excess oil to prevent engine damage from oil foaming, increased crankcase pressure, and potential catalytic converter contamination costing $500-4,000 in repairs[6]. Even half a quart overfill reduces lubrication effectiveness by 40%, so maintain proper levels precisely.
References
- J.D. Power. (2023). How Long Does A Car Battery Last Without Driving It? Retrieved from https://www.jdpower.com/cars/shopping-guides/how-long-does-a-car-battery-last-without-driving-it
- Interstate Battery. (2023). How Long Do Car Batteries Usually Last? Retrieved from https://www.interstatebatteries.com/blog/how-long-do-car-batteries-usually-last
- CarEdge. (2024). Audi A3 Maintenance Schedule and Costs. Retrieved from https://caredge.com/audi/a3/maintenance
- Optima Batteries. (2022). What is ‘Normal’ for Parasitic Draw? Retrieved from https://www.optimabatteries.com/experience/blog/what-is-normal-for-parasitic-draw
- NHTSA. (2022). Battery Safety Initiative. Retrieved from https://www.nhtsa.gov/battery-safety-initiative
- AAA. (2025). Americans Slow to Adopt Electric Vehicles. Retrieved from https://newsroom.aaa.com/2025/06/aaa-ev-survey/
- Northeast Battery. (2024). Trickle Charger Versus Regular Battery Charger. Retrieved from https://northeastbattery.com/trickle-charger-versus-regular-battery-charger/

I am a senior automotive analyst at Autvex. Expert vehicle evaluations, in-depth reviews, and objective analysis helping readers make informed automotive decisions with years of industry experience.

