

Last updated: July 2026
Quick answer: Spacing a brake caliper bracket correctly aligns the caliper body symmetrically over the brake rotor, ensuring the rotor spins exactly in the center of the pad gap. This process involves installing radial spacers when upgrading to larger rotors (radial mount setups) or placing precision stainless steel shims (typically 0.015 to 0.035 inches) between the caliper mounting ears and the bracket for lateral alignment. Proper spacing prevents brake pad drag, uneven pad wear, and heat buildup, and requires high-strength bolts torqued to 80-105 ft-lbs.
Key takeaways:
- Radial spacers are required when upgrading to larger brake rotors to move the caliper outward by half of the total rotor diameter increase.
- Lateral centering must be verified using a feeler gauge to ensure equal clearance on both the inboard and outboard sides of the rotor.
- Mounting bolts must achieve a minimum thread engagement of 1.5 times the bolt diameter into the steering knuckle or adapter.
- Fasteners used in caliper mounting assemblies must meet high tensile strength standards, specifically Metric Grade 10.9/12.9 or SAE Grade 8.
- Apply a medium-strength thread locker to the bolts and torque them to vehicle-specific specifications, typically between 80 and 105 ft-lbs.
When Do You Need Caliper Bracket Spacers?
You need caliper bracket spacers whenever you install aftermarket brake upgrades, swap in larger diameter brake rotors, or correct caliper offset misalignment. Repositioning the caliper is essential to ensure that the brake pads fully engage the rotor’s friction ring instead of rubbing against the rotor hat or hanging off the outer edge.
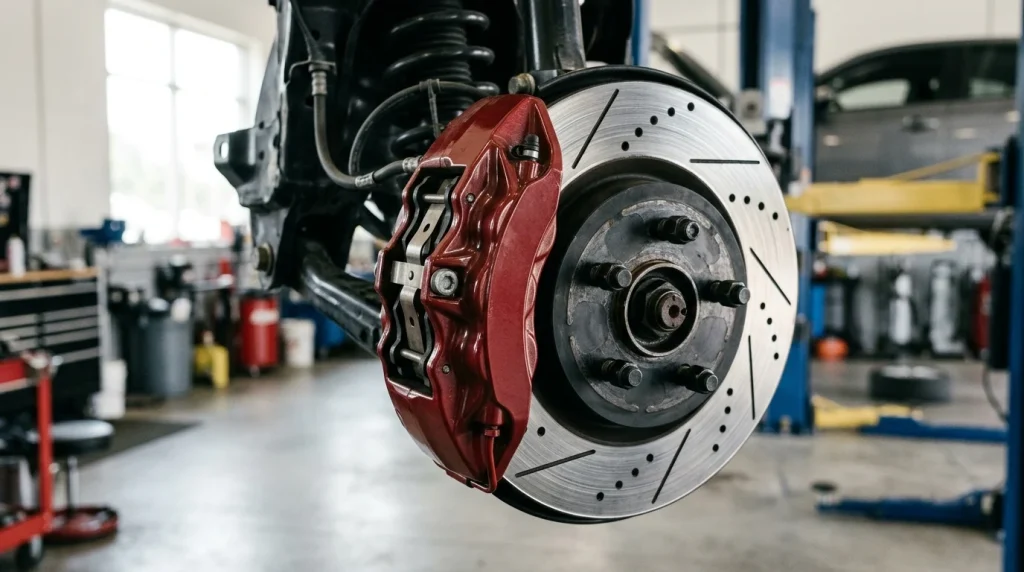
In modern automotive braking systems, calipers are mounted in two primary ways: axial mounts and radial mounts. Axial-mount calipers bolt directly to the steering knuckle parallel to the rotor face. Adjusting these setups often requires custom caliper bracket adapters. Radial-mount calipers, common in high-performance aftermarket upgrades like Wilwood and Brembo, bolt on studs perpendicular to the rotor. This configuration makes radial-mount calipers much easier to space outward by sliding cylindrical spacers over the mounting studs.
A common scenario requiring caliper bracket spacing is when upgrading to a larger brake rotor, such as swapping stock 280mm rotors for 320mm performance discs. Spacers move the caliper radially outward to accommodate the larger disc. Additionally, vehicles equipped with rear disc brakes that use specialty camber or toe adjustment shims, such as Specialty Products Company (SPC) EZ Shims, may experience caliper-to-rotor misalignment. Because these axle shims tilt the hub assembly relative to the axle beam, you must install matching caliper spacers to realign the caliper bracket with the repositioned rotor.
How to Calculate Caliper Spacer and Shim Sizes
Calculating the correct spacer and shim sizes is a critical step that requires precise measurements. Using the wrong spacer size will cause the brake pads to miss the swept area of the rotor, resulting in poor braking force or catastrophic hardware interference.
For radial brake upgrades, the thickness of the radial spacer is determined by the difference in rotor diameter. The standard formula is:
Radial Spacer Thickness = (New Rotor Diameter - Old Rotor Diameter) / 2
For example, if you increase the rotor diameter by 30 millimeters (from 290mm to 320mm), you must move the caliper outward by 15 millimeters. You will install a 15mm spacer under the caliper mounting feet.
| Rotor Diameter Increase | Required Radial Spacer Thickness |
|---|---|
| +10 mm | 5.0 mm |
| +20 mm | 10.0 mm |
| +30 mm | 15.0 mm |
| +40 mm | 20.0 mm |
Calculating lateral shims requires measuring the caliper offset. Mount the brake rotor flat against the hub and secure it with lug nuts. Measure the distance from the outer rotor surface to the inner edge of the caliper housing, and compare it to the distance on the opposite side. The difference between these two measurements determines the shim thickness needed to center the caliper body over the rotor plane.
Note: Never apply bicycle caliper bracket spacing specifications to a passenger vehicle. Some online guides erroneously copy lightweight bicycle components specifications, such as SRAM bicycle standards. Automobiles weigh thousands of pounds and generate extreme kinetic energy. Using bicycle-grade specifications, materials, or clearance tolerances will lead to immediate brake system failure on a car.
Step-by-Step Guide to Centering the Caliper
Centering the caliper over the rotor involves fine-tuning the lateral clearance between the rotor face and the pad mounting surfaces. Perfect alignment ensures that both pads contact the rotor simultaneously and wear evenly.
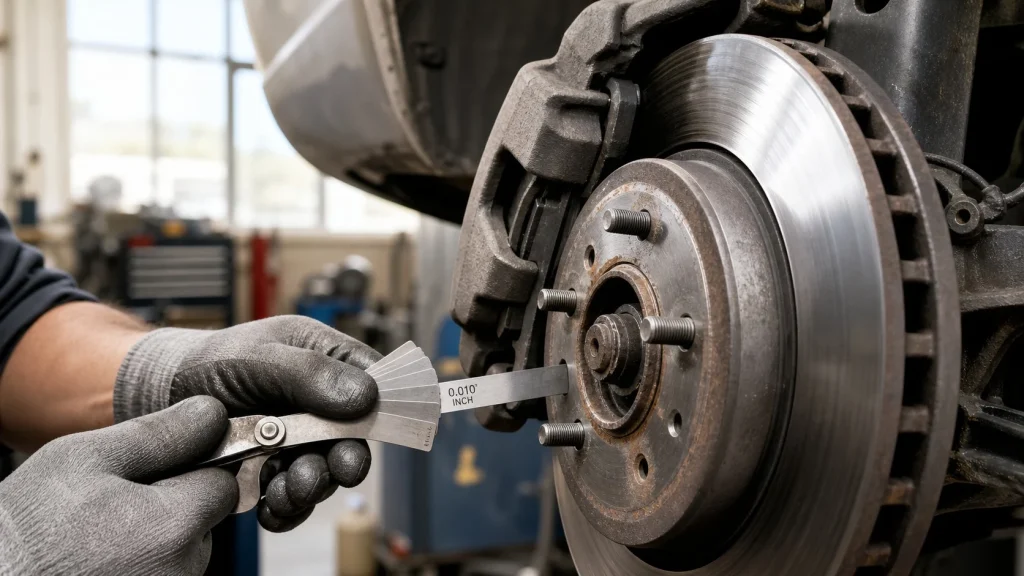
Follow these steps to center your caliper bracket:
- Seat the Rotor: Place the brake rotor onto the wheel hub. Thread and tighten at least two lug nuts against the rotor hat to hold the disc completely flat against the hub face.
- Mount the Bracket Loosely: Install the caliper mounting bracket onto the steering knuckle. Tighten the mounting bolts finger-tight so the bracket can still slide slightly.
- Measure the Clearances: Slide the caliper over the rotor. Use a feeler gauge to measure the gap between the rotor surface and the brake pad backing plate surfaces on both the inboard and outboard sides.
- Install Precision Shims: Remove the caliper and insert precision stainless steel shims (commonly 0.024-inch or 0.035-inch shims, in accordance with Wilwood Disc Brakes mounting guidelines) between the caliper mounting ears and the adapter bracket. Adjust the shim stack until the clearances on both sides are completely equal.
- Verify Free Rotation: Spin the rotor by hand. Visually check that the rotor runs centered through the caliper body channel and does not scrape the bracket or caliper housing at any point.
Analysis: According to Todd Camps, Founder of TCE Performance Products, centering the caliper laterally over the rotor using precision shims is not just about avoiding pad drag; it ensures that the caliper pistons operate symmetrically, preventing uneven heat distribution and seal damage.
Final Installation: Torque Specs and Hardware Grades
The final installation step requires securing all fasteners to the correct torque values using high-strength hardware. Because brakes are subject to violent vibrations, severe thermal cycles, and massive shear forces, you must never compromise on fastener quality.
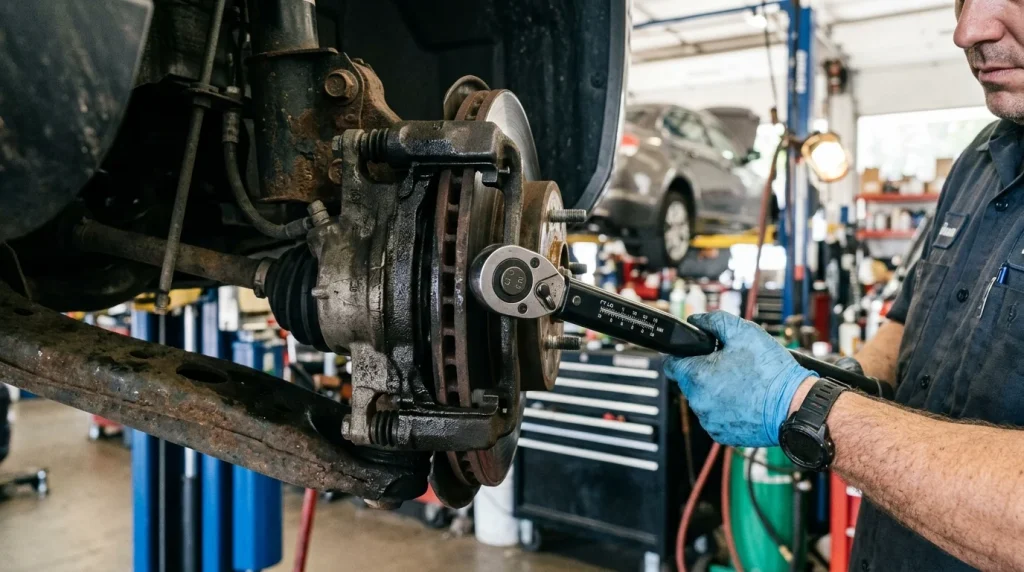
When adding spacers or shims, you will push the caliper away from its original mounting point. This means you must buy longer mounting bolts. The new bolts must be long enough to maintain a minimum thread engagement of 1.5 times the bolt diameter (typically 10 to 15 millimeters of active thread engagement into the knuckle or mounting bracket) to prevent stripping.
Always use high-grade fasteners. Metric fasteners must be Grade 10.9 or Grade 12.9, while standard SAE fasteners must be Grade 8. Never use standard hardware store bolts (such as Metric Grade 8.8 or SAE Grade 5) for caliper mounting brackets.
| Fastener Location | Bolt Grade Requirement | Torque Specification |
|---|---|---|
| Caliper Bracket to Steering Knuckle | Metric Grade 10.9 / 12.9 (SAE Grade 8) | 80-105 ft-lbs |
| Radial Caliper to Adapter Bracket | High-Tensile Steel studs / bolts | 35-45 ft-lbs |
| Sliding Caliper Guide Pins (Floating) | OEM High-Tensile Steel | 20-40 ft-lbs |
Before inserting the bolts, clean the threads with a wire brush and apply thread locker to prevent loosening under vibration. According to TCE Performance Products torque guidelines, if lubricants or anti-seize compounds are used on threaded fasteners, final torque values should be adjusted down by approximately 10%, and an inch-pound torque wrench should be used for smaller hardware to prevent over-tightening. Always tighten mounting bolts evenly with a calibrated torque wrench to ensure symmetric clamp load. Avoid over-tightening caliper bridge bolts or slide pins, which require much lower torque values to prevent stripping aluminum threads.
Once torqued, mount the wheel and spin it to ensure the caliper does not contact the inner barrel of the wheel rim. Check the brake hoses to ensure they do not stretch or bind when the steering wheel is turned from lock to lock.
FAQs about Brake Caliper Spacing
Can I upgrade rotors without changing the caliper bracket?
No, you cannot upgrade to larger diameter rotors without changing the caliper bracket or adding spacers. A larger rotor has a larger radius, meaning the caliper must sit farther away from the hub center. If you install a larger rotor with the stock bracket, the caliper will physically collide with the outer edge of the rotor, preventing installation.
How do I know if my caliper is centered on the rotor?
You can verify that the caliper is centered by using a feeler gauge to measure the empty space between the rotor face and the pad mounting lands inside the caliper housing. If the measurement on the inboard side matches the measurement on the outboard side, the caliper is centered. You can also monitor pad wear; uneven wear between the inner and outer pads indicates a centering problem.
Do caliper bracket spacers affect braking performance?
When installed correctly, caliper spacers improve braking performance by allowing you to run larger rotors, which increases thermal capacity and leverage. However, if the spacers are misaligned or the bolts are under-engaged, it can cause caliper flexing, uneven pad wear, soft pedal feel, and potentially catastrophic bracket failure under hard braking.
How much do caliper bracket spacers cost?
Basic stainless steel shim kits used for lateral centering cost between $20 and $50. Billet aluminum or steel radial adapter brackets for larger rotor conversions typically cost between $100 and $250 per pair. Complete big brake upgrade kits that include matched rotors, calipers, pads, and custom brackets generally range from $500 to over $2,000 depending on the vehicle model.
For more helpful automotive repair and news, visit our Autvex News Hub.

